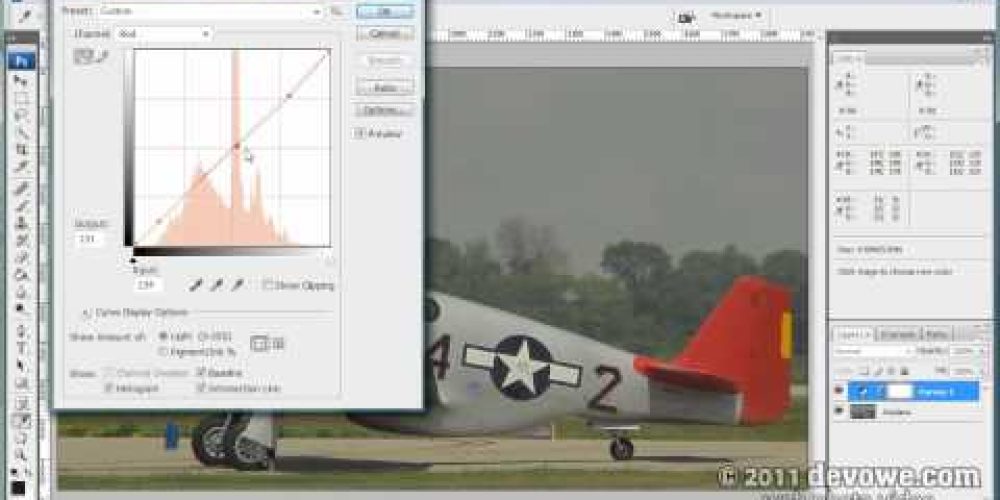
An in-depth tutorial on color correction using Curves inside of After Effects and Photoshop.
This method explains how to color correct most any footage “by the numbers”. It’s a bit of a science that requires only a minimum amount of understanding of RGB values.
Please bestow a ♥ like or leave a ✉ comment if you have questions!
You can skip the introduction if you so choose:
0:45 – Before and After
1:09 – Tutorial Start
12:37 – Edit your color corrected footage in Premiere! (Dynamically Link the CC’ed Footage)
Using Photoshop for color correction is really a lot easier than you may think. In this tutorial, the method is very simple and fast – NO rendering multiple frames, NO importing video files into Photoshop, and easy access to making color changes.
This tutorial is a tad long at 15 minutes – please bear with me as I fully explain the techniques here! 🙂 Hopefully you will find the techniques helpful.
☞ TIPS:
✏ Choose areas that are large enough to sample and don’t contain color casts or Chromatic Aberration
✏ Remember to use common sense. If the colors are just not looking right, either sample a different area or adjust to your liking.
✏ Your footage may have different areas of brightness or color shifts throughout the video. Animate your Levels for differing brightness, and animate your Curves for differing color where needed.
✏ Sometimes having crushed blacks or blown highlights are okay – especially in video. Keep this in mind when working with the Levels effect and don’t worry if you have either of those in your final result.
✏ If you have the opportunity, use a gray card somewhere in the image – so that later in post, you can reference that neutral gray midtone for color correction.
✏ IMPORTANT: If you are using CS5, make sure you are using the Eyedropper Tool, NOT the Color Sampler Tool. Thanks to Ryan Yakich for the heads up.
RGB Color Correction Values Reference (also at 9:54):
Highlights ✏ 245
Midtones ✏ 135
Shadows ✏ no less than 12


9 responses to “How to Color Correct in After Effects (The RIGHT Way!)”
[…] devowe.com/blog/2011/how-to-color-correct-in-after-effects-the-right-way/ […]
Hey
I saw your AE tutorial on color correction and its nothing like I have ever seen. I’m very new to video edit, but I’m willing to learn. I was just wondering if you have some of these tutorials you can either sell to me, or give to me for free:)
Good thing is, I’m in Minnesota. Hope you still live here.
Please respond my friend.
Thanks
Thanks for watching!
Probably seems like a stupid question but I’m a AE beginner. I’ve downloaded a few AE templates and don’t know how to get the colored RGB screen or color correction layer on top of the main video to go away. Any help would be greatly appreciated?
In your effects panel, click the toggle icon in the upper left to turn the effect on or off. Or, select the effect and hit Delete on your keyboard. Hope that helps!
good one bro, didn’t know color correction could be so simple and effective. thanks
You’re welcome, and thanks for watching!
i hope you’re still monitoring this video. I’m having difficulty. I’m using Photoshop CC on Macbook Pro Retina. After taking the initial sample, I then add the adjustment layer curves. Using eyedropper, when I select the first reference point and control+click, I get a popup menu with Delete, actual color….No reference points appear on the curves layer. what am i doing wrong?
Hi Dan,
Click the little hand icon in the Adjustments window (top left corner), and simply click on the image to insert a point on the curve. If the hand icon is greyed out, make sure you select the squiggly line rather than the pen in the adjustments window. This will enable the little hand icon and then you can follow along. Hope that helps!
-Michael